|
When you SUBSCRIBE to the Shop Hacks Newsletter you receive a helpful article like this one every Friday at 3:30 PM Eastern. The workbench may be the most used piece of equipment in most shops. Workbenches range from a pair of sawhorses with an old door or piece of plywood laid across them to a work of art like the one below that Richard Csepregi posted in the Shop Hacks Facebook group. (Click on the photo to see more details in his post) 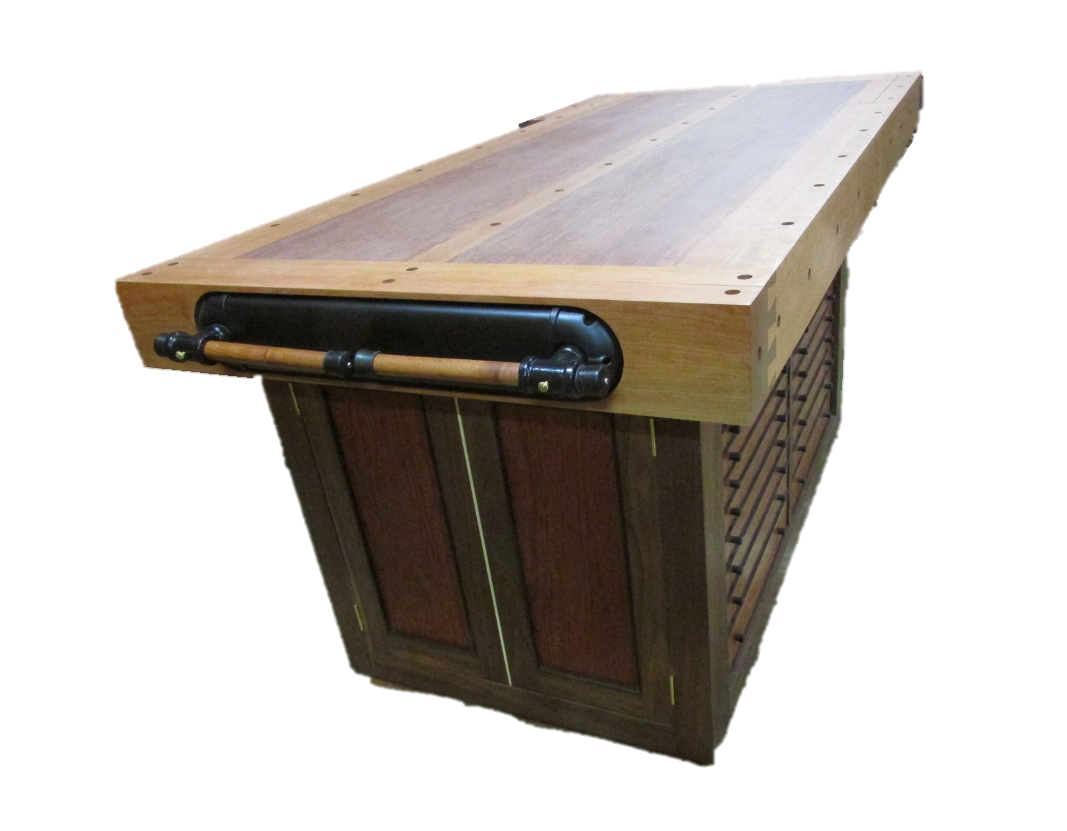 We all have a workbench of some sort. I think it is a fair bet that 99.999% of our workbenches don't look nearly as nice as Richard's ;-) Chances are that your workbench looks more like the one below. In this article I'll discuss the various materials that you can use to build or restore the most common types of workbenches and how much each option costs for a 2' x 8' version... a common size for a countertop type workbench. You may be surprised to find that you can restore your workbench to for a little over $1 per square foot. 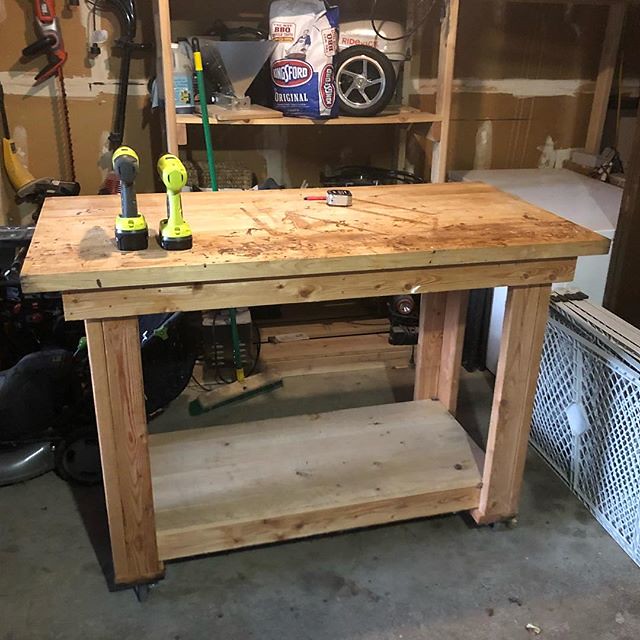 Shop Hacks exists to help you Build YOUR Space! Let's get started... Based on the results of this Shop Hacks Facebook group poll, it looks like Plywood and MDF make up the bulk of your workbench tops but pine and hardwood round out the top choices. It's not difficult to imagine why. Plywood and MDF are readily available, cheap and durable and make great general use work surfaces. Pine and Hardwood can be made into thick, flat tops with plenty of mass to absorb energy, which is essential for hand work such as chiseling. We also have mechanics and metalworkers in the Shop Hacks tribe and they often use metal workbenches to handle heavy metal parts and fabrication as well as oils and greases. There's no perfect workbench for everyone but this article will help you determine what fits your needs the best. 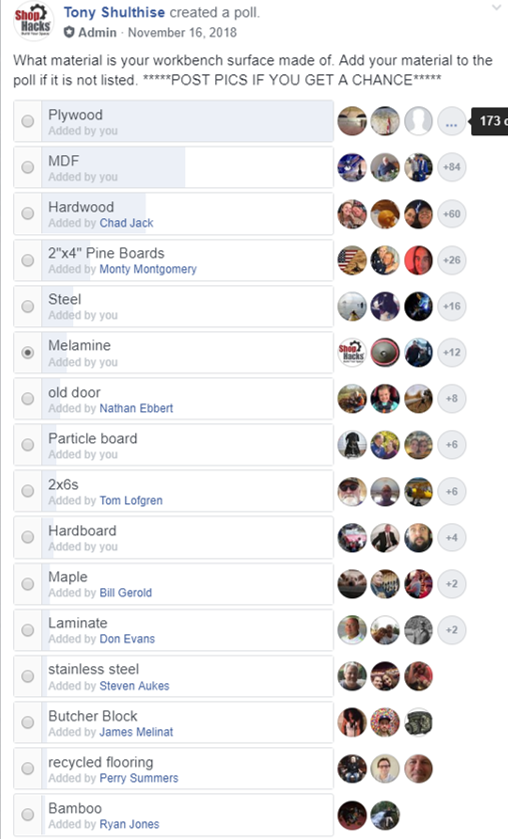 I've used many types of workbench surfaces over the years. Plywood, laminate, MDF, melamine, flooring products and epoxy coatings. They all have their own unique advantages. Let's talk about "shop feel" for a minute... Many of you are aware of the transformation my workshop has been undergoing over the last few years. I've been focusing a lot of energy on two goals for any shop improvement I make...
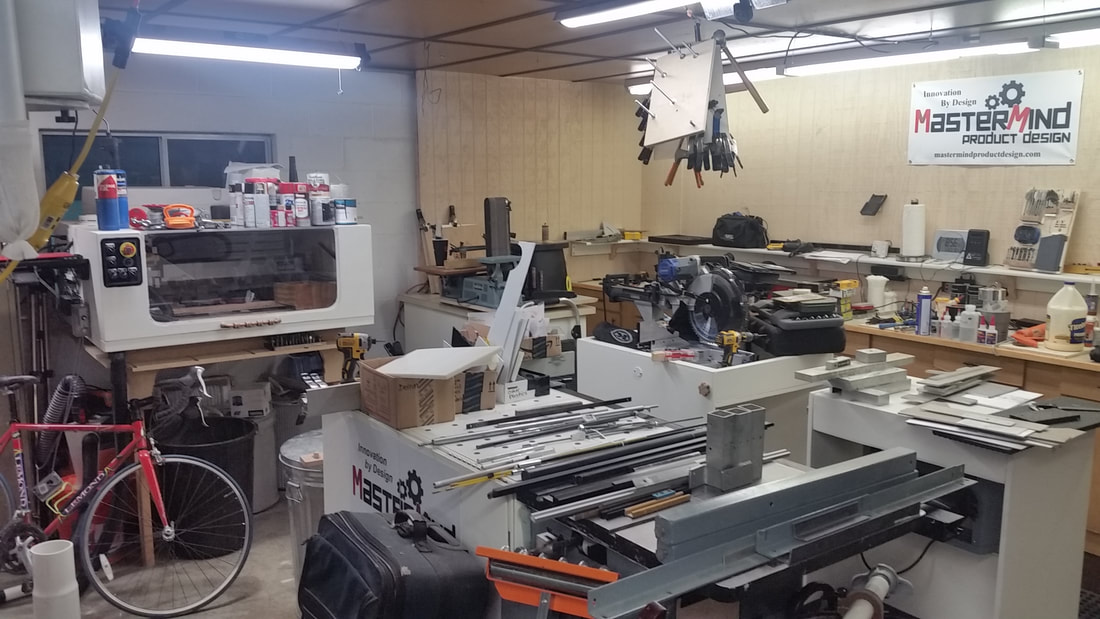
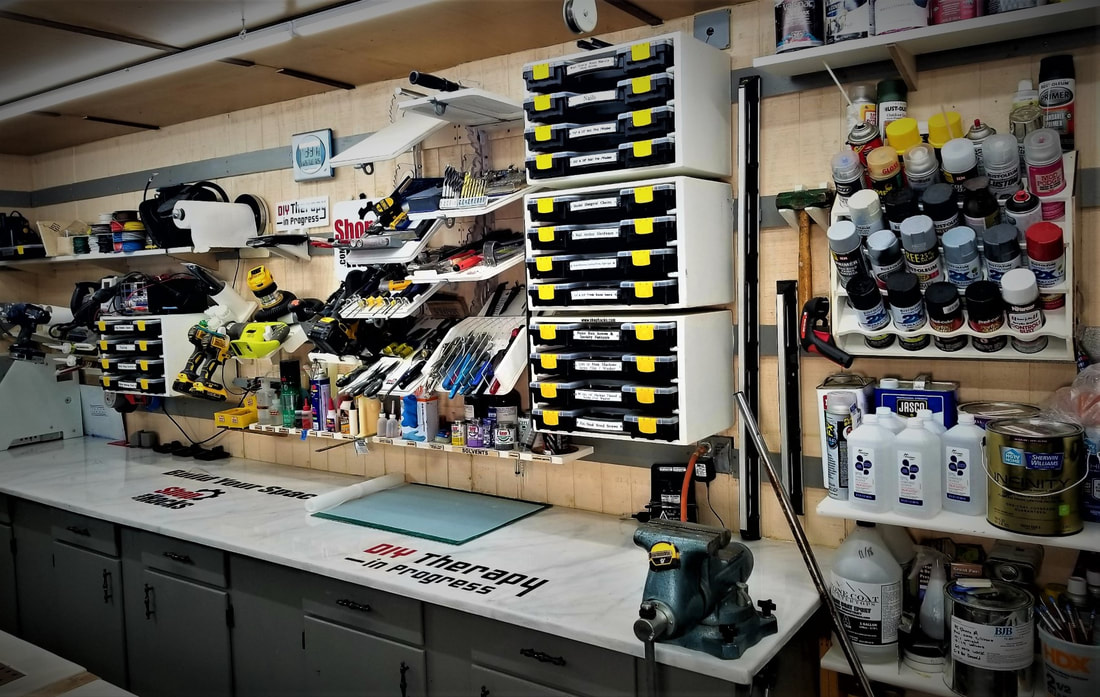
This second point is something that never crossed my mind for over 30 years. I was very happy with organized tools and materials, a few florescent lights, dingy gray floors, block walls, ineffective dust collection and a very basic workbench made of dark stained plywood. I don't have pictures of the very start of my journey to create a workshop destination but these photos will give you a feel for the transformation that has occurred over the past couple of years. For me, the transformation involved the following areas...
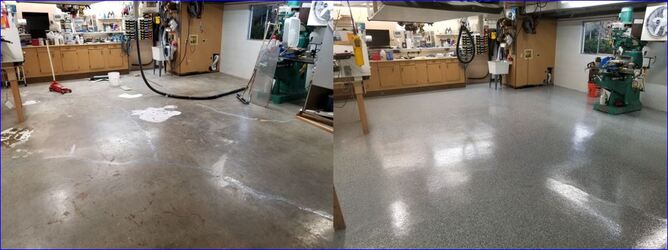
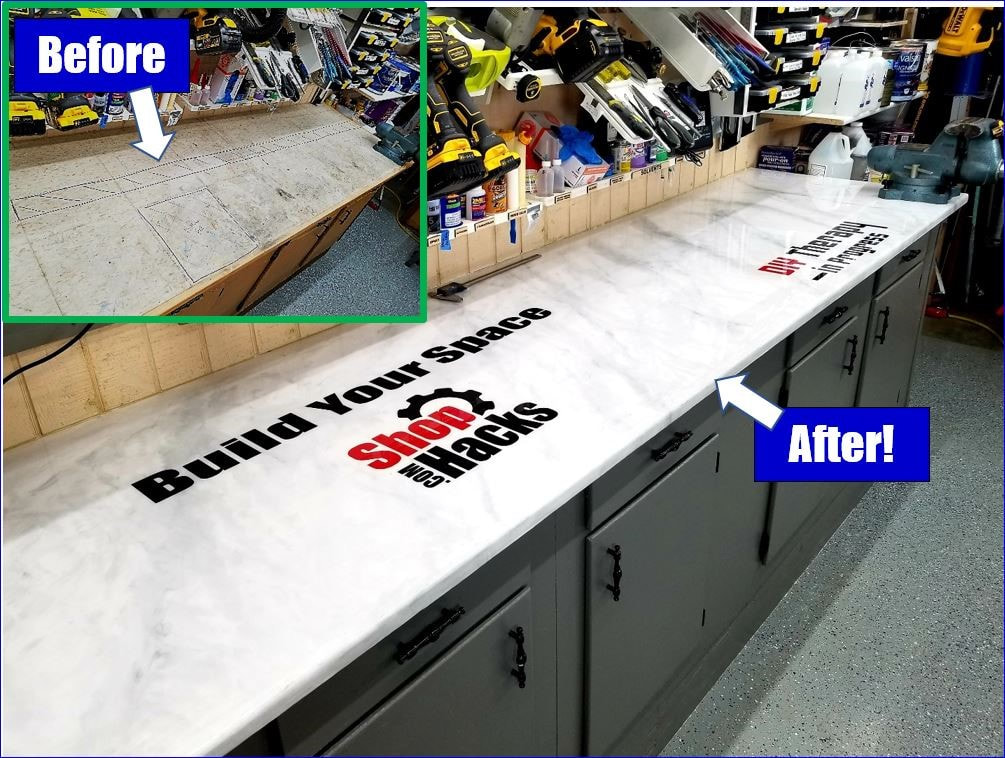
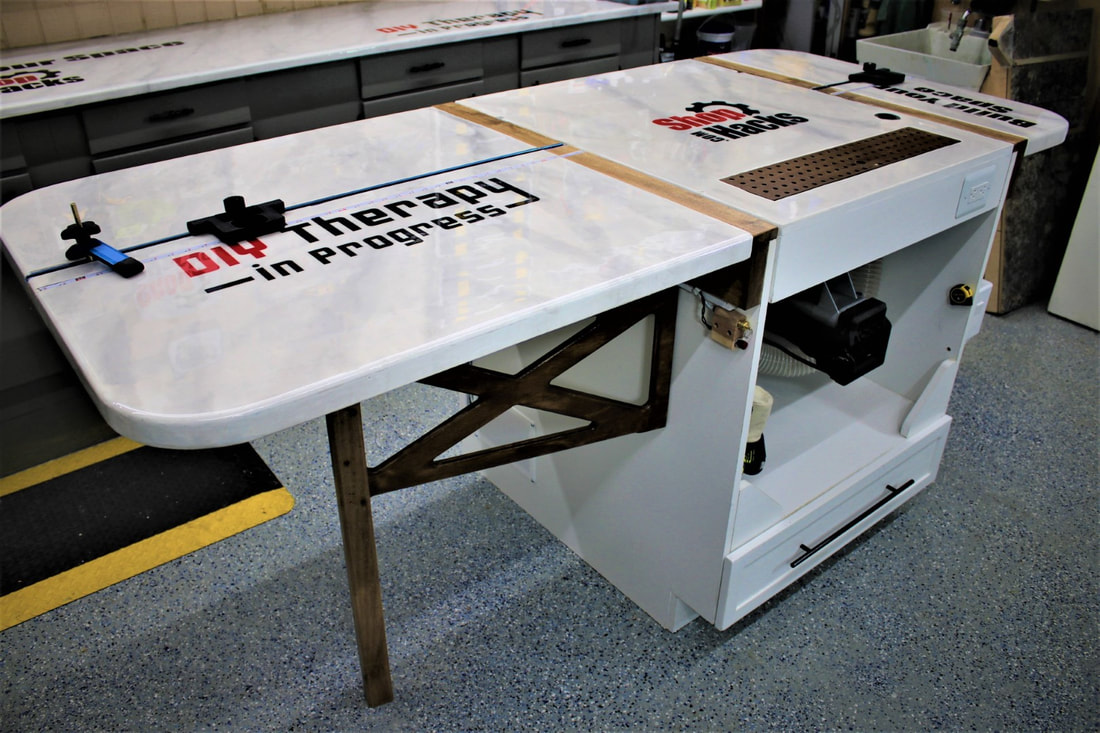
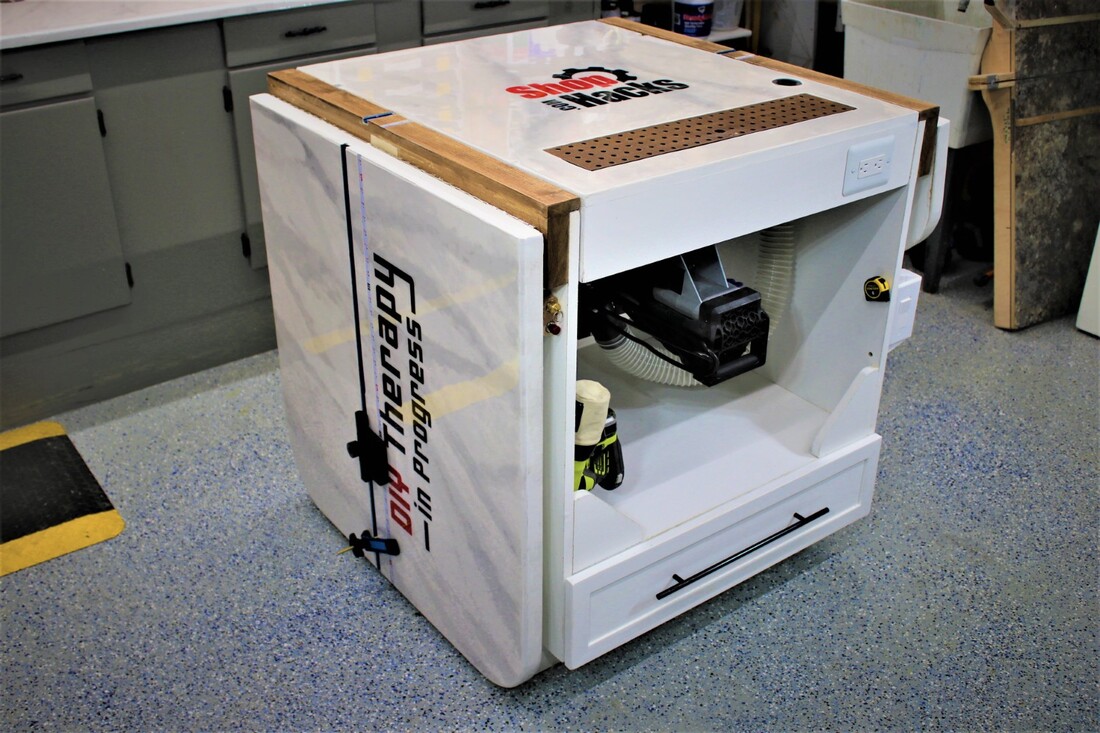
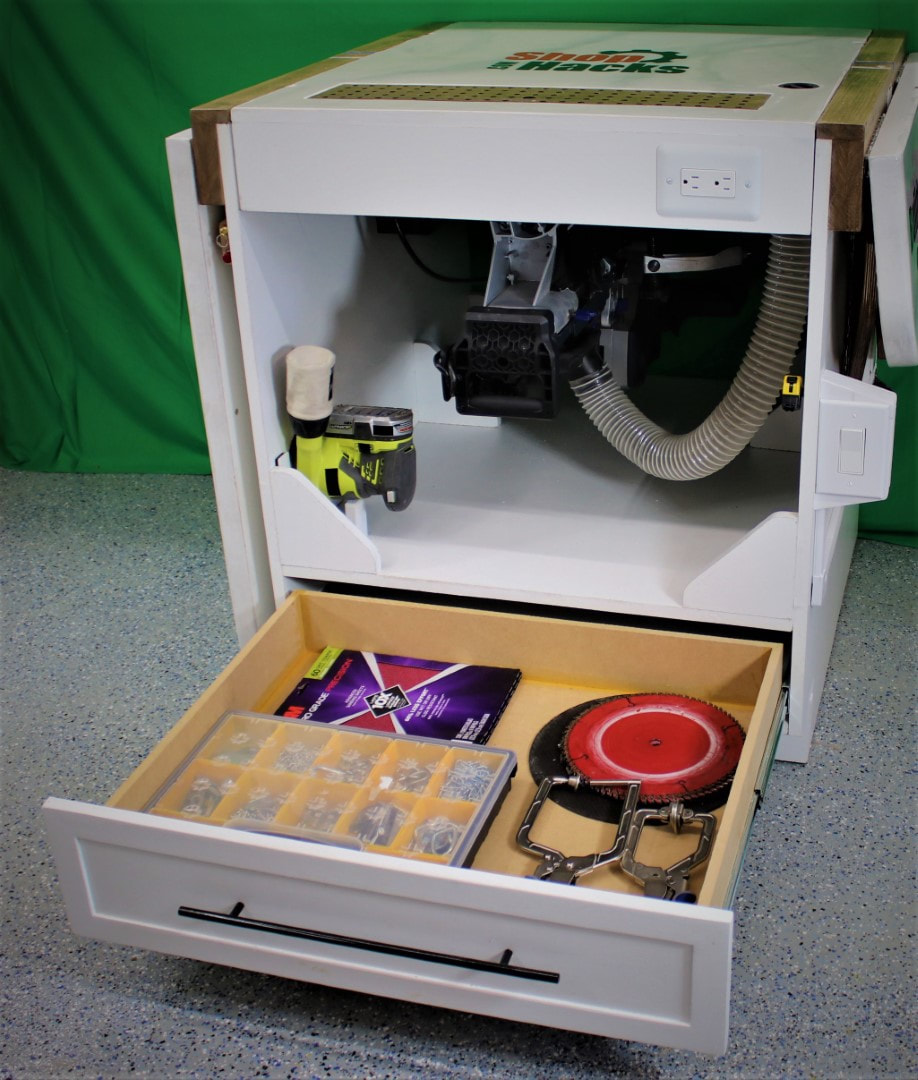
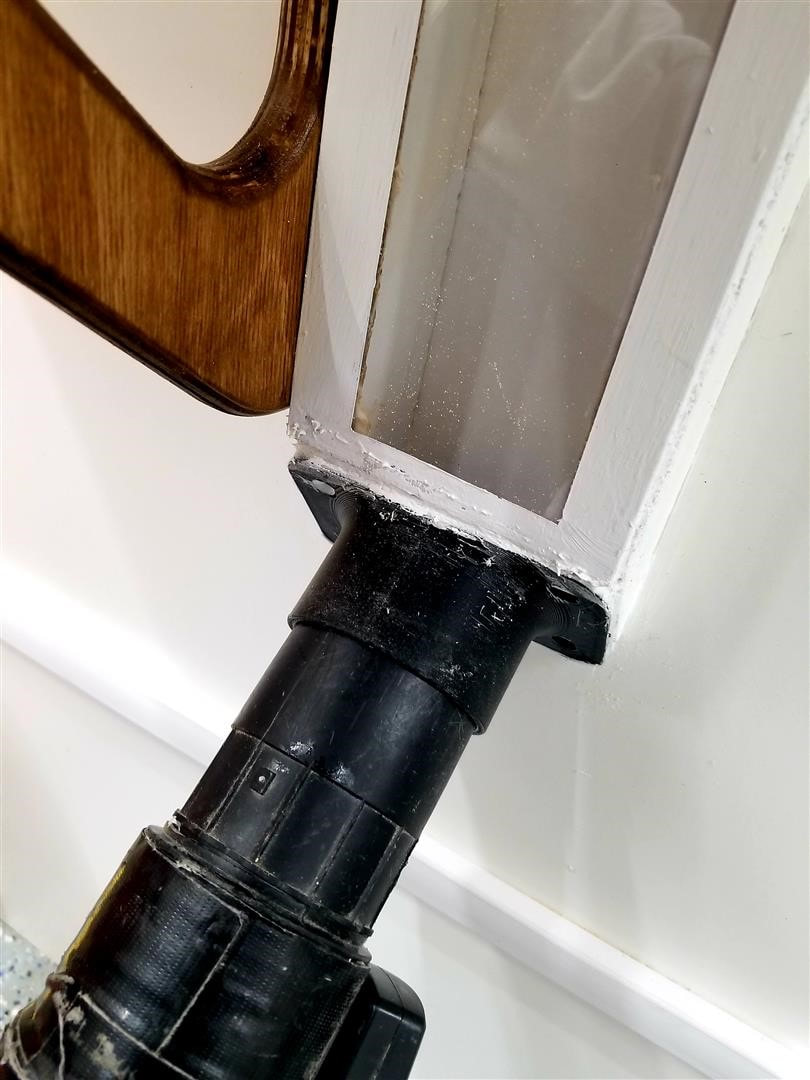
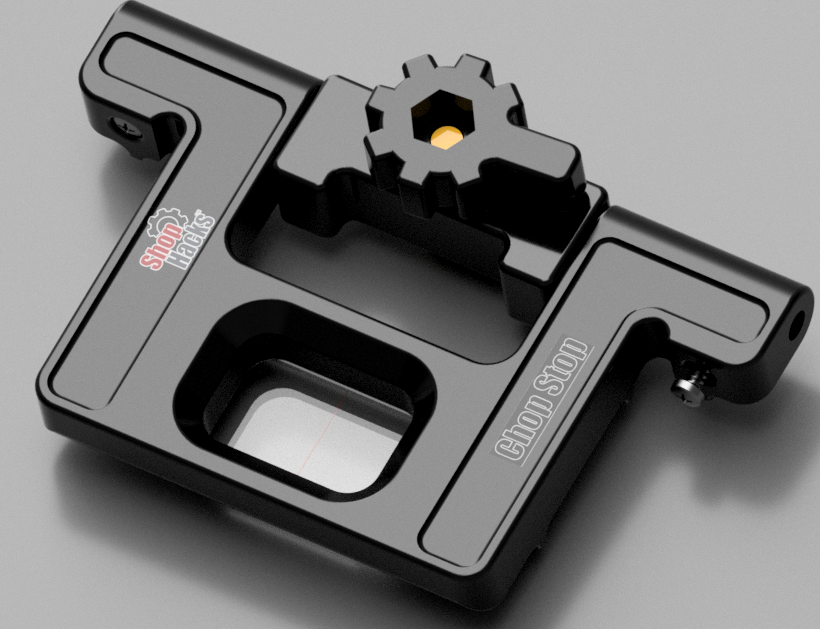
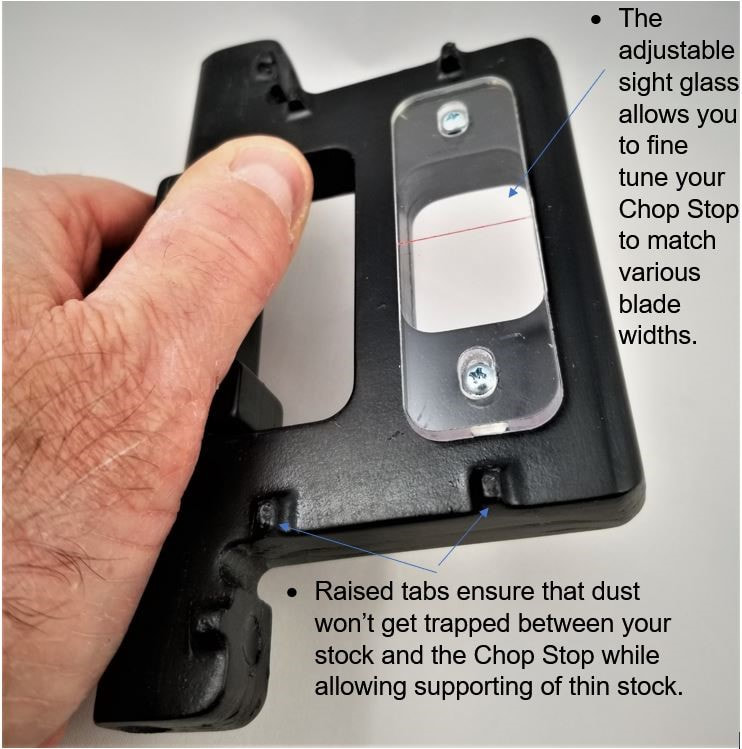
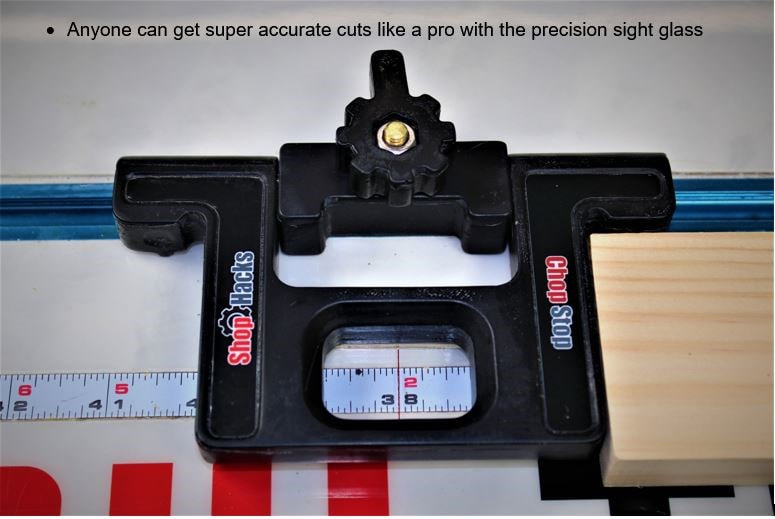
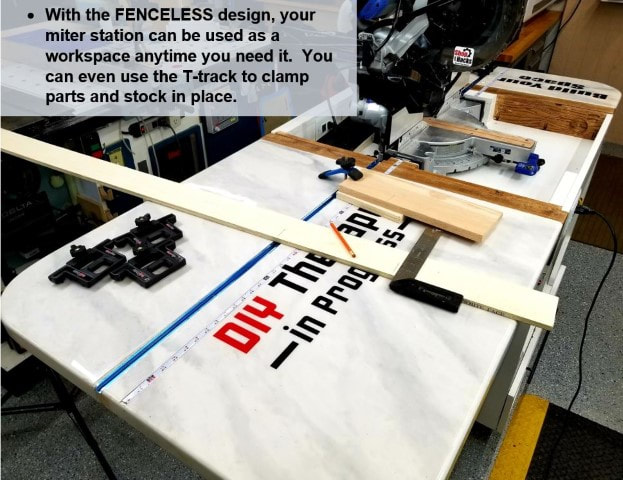
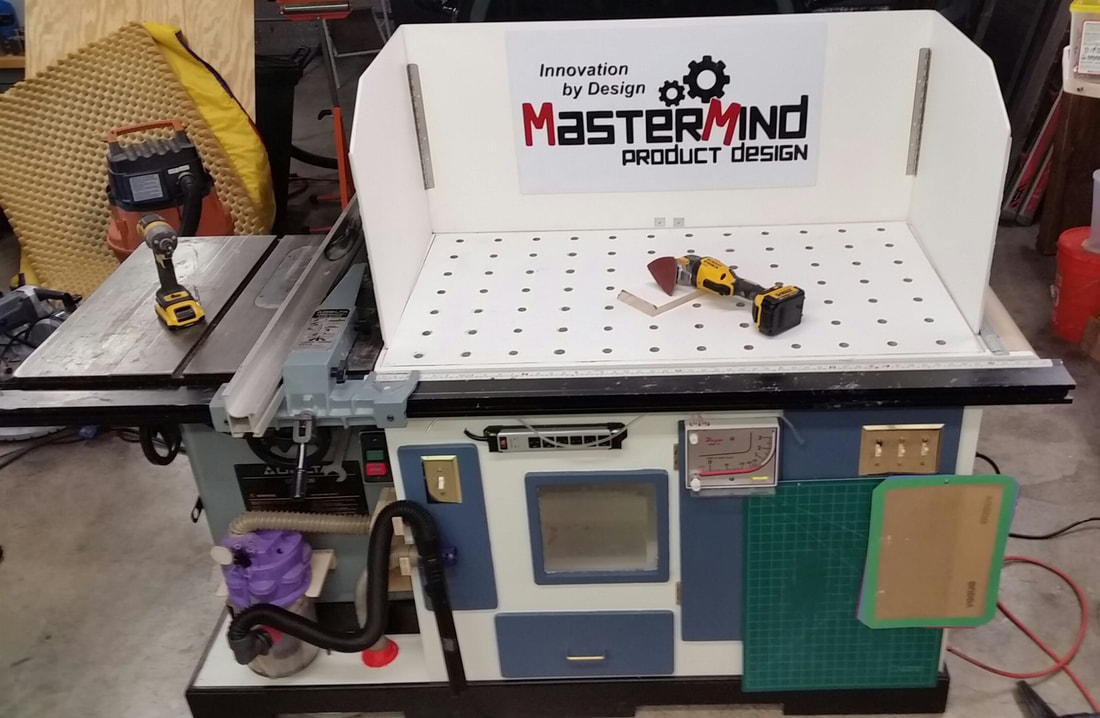
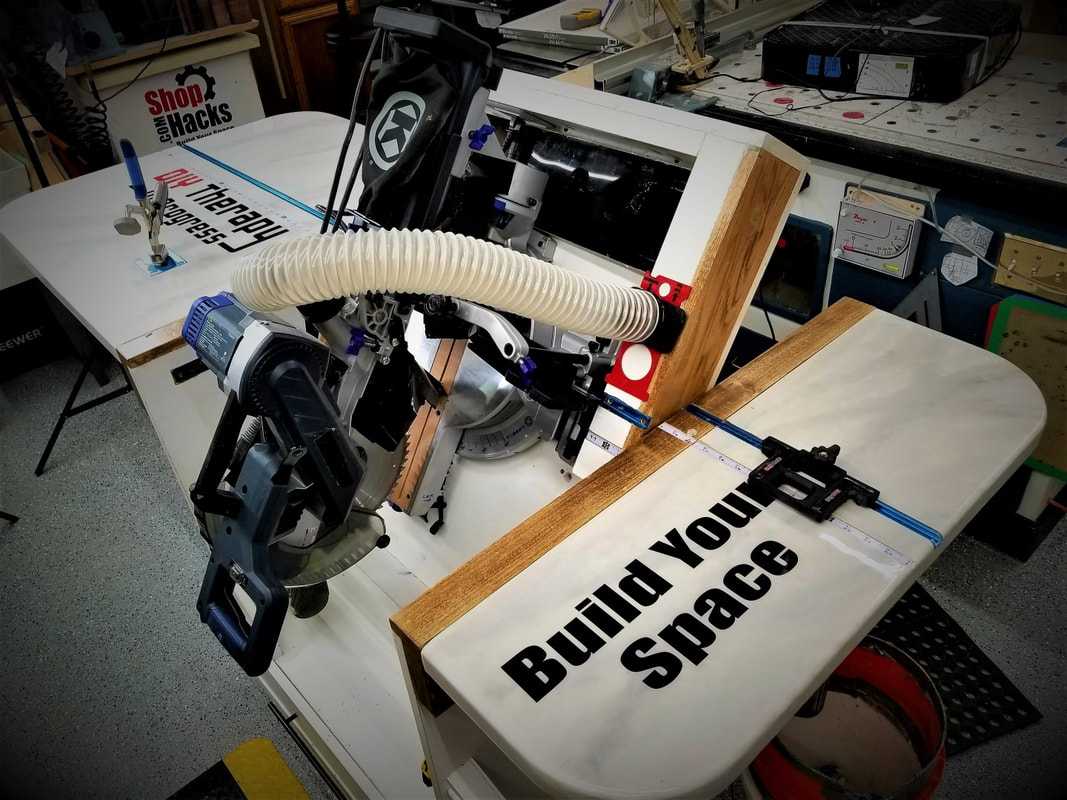
My workbench may not be what you are looking for but I would venture to say that the way it makes me feel is something that you are looking for. The original workbench top was a dark stained plywood. I later covered in floor tiles (see picture inset above). The floor tiles looked good for a while but quickly started looking terrible... bad choice. I saw a few videos from Mike Quist at Stonecoatcountertops YouTube channel where they have hundreds of videos showing step by step instructions showing how to perform epoxy countertop restorations. I decided to see if I could make something of my mess. The photo below shows the before and after results. Full disclosure... Stonecoatcountertops.com provided the materials for the epoxy countertop restoration in exchange for a "how-to" video. I'll post a link to that video in a future article. There are other epoxy companies but I will say that SCC products were super easy to use and I chose them because they have more video resources and tech support than any other company I could find. For these reasons, I didn't approach any other companies. 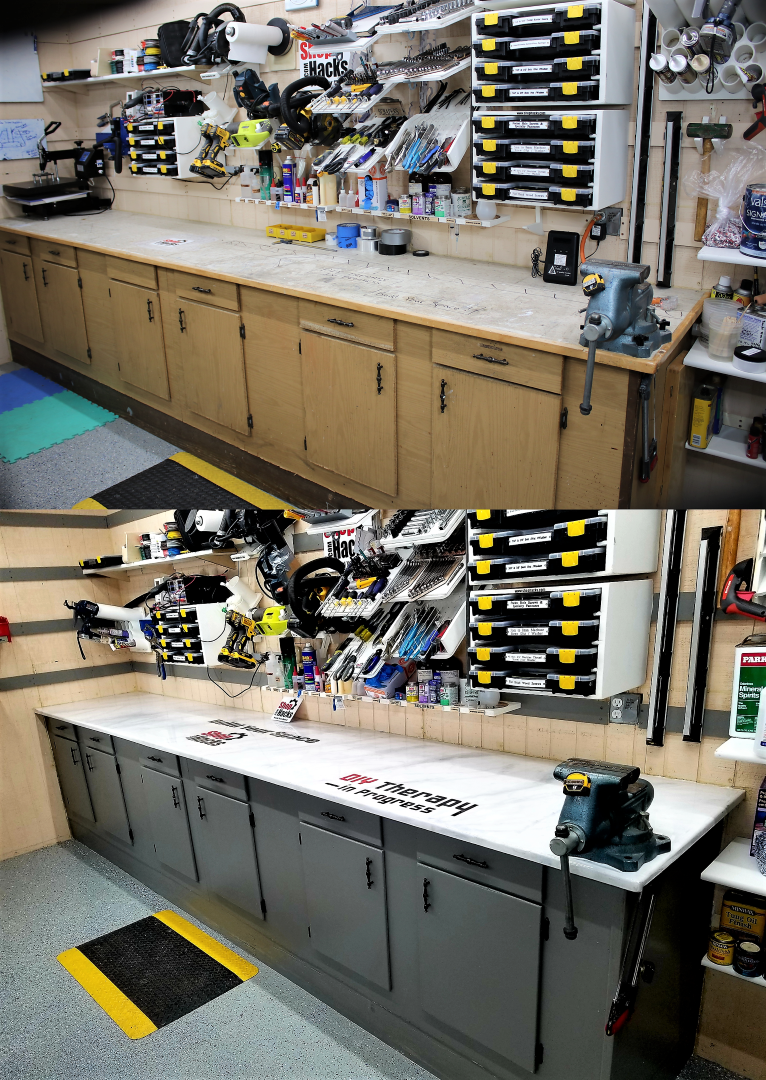 Below are close up pictures to give you a better feel for what you can do with less than $5 per square foot and one day (or less) of labor... 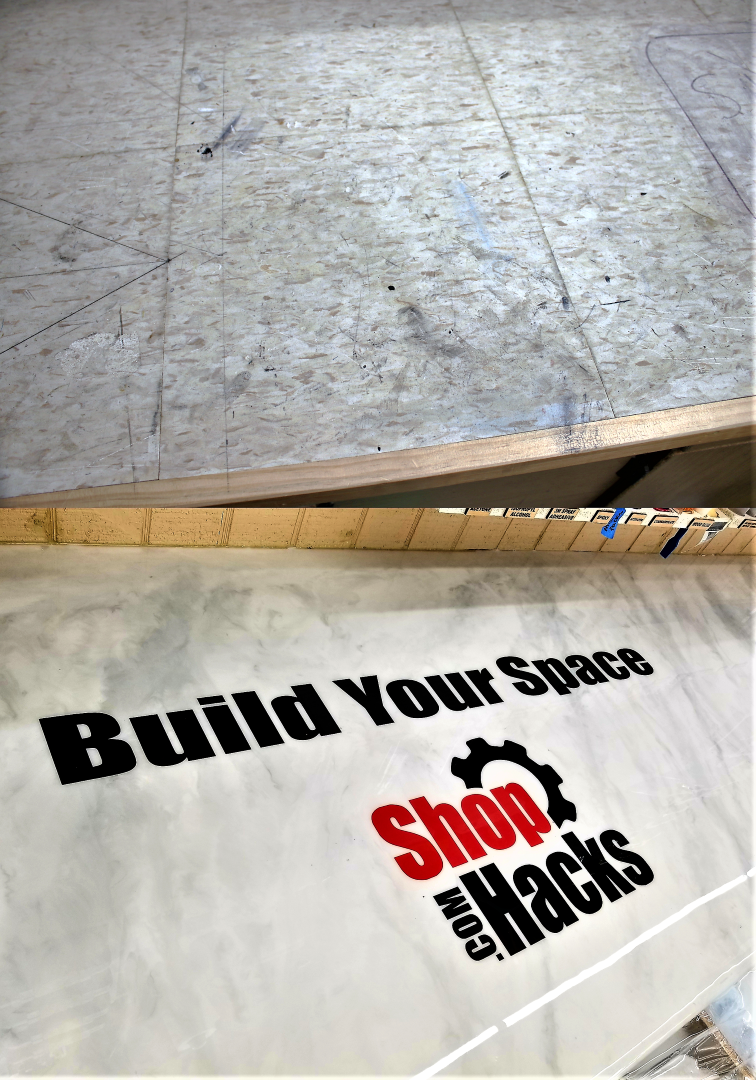 I have been using this workbench for almost a year now and it still looks great. I have melamine top workbench that I use for any heavy duty pounding and sawing but I use this bench and the Shop Hacks Ultimate Flip Top Workbench the most. Other than scratches my epoxy coated benches still look like new. You can hit them with a hammer without damage. If they ever start to look bad I'll just sand the tops and pour another skim coat of epoxy and it will look brand new again with just an hour of work and less than $20 of epoxy. If you've never given much thought to improving the "feel" of your shop, it may be worth a little effort. Creating a destination has many rewards. After coating my floors, installing a LOT of LED lighting, getting dust collection and air filtration completely under control and updating the look of my workbench, my shop feels like a completely different place. It really is a destination... a place to crank out new products or just to hang out and soak in the feel of a great looking space where there are not expectations other than my own. This is what the Shop Hacks motto, "Build YOUR Space" is all about. Side note... I cut all of the vinyl graphics you see in these photos. If you are interested in learning more about vinyl cutters you can find more information on the website HERE. Common build/restoration options and costs Without going into too many details let's just look at what some of the most common options and how much they cost. Price often dictates the materials used for a project. To help you quickly determine which options are feasible for your workbench just multiply the length x width to determine the number of square feet then multiply that number by the cost per square foot for the materials that are listed below. I’ve also included the cost to make a typical 2’x8’ bench top using each option. The table below lists options from least expensive to most expensive. Links to materials are provided for reference. Use this as a reference to decide what materials and coatings are right for you. 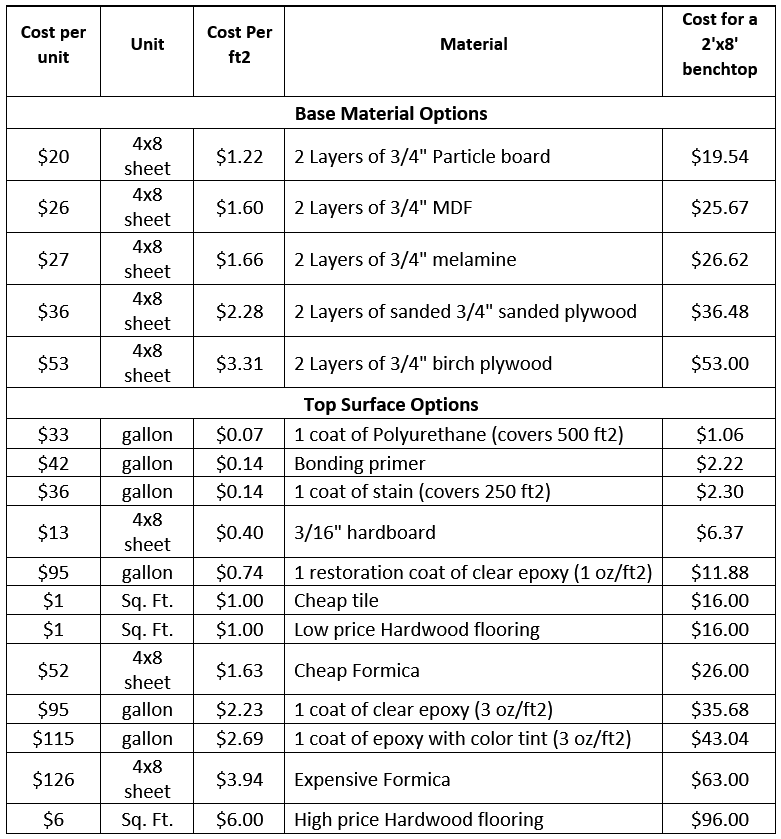 Links to sites where prices were derived are provided below... Workbench Top Material options... $19.54 2 Layers of 3/4" Particle board $25.67 2 Layers of 3/4" MDF $27.00 2 Layers of 3/4" melamine $36.48 2 Layers of sanded 3/4" sanded plywood $53.00 2 Layers of 3/4" birch plywood Workbench Top Finishing/Coating options... $1.06 1 coat of Polyurethane (covers 500 ft2) $2.22 Bonding primer $2.30 1 coat of stain (covers 250 ft2) $6.37 3/16" hardboard $11.88 1 restoration coat of clear epoxy (1 oz/ft2) $26.00 Cheap Formica (This is likely available much cheaper at specialty stores) $35.68 1 coat of clear epoxy (3 oz/ft2) $43.04 1 coat of epoxy with color tint (3 oz/ft2) $96.00 High price Hardwood flooring ...More details about each of the options... 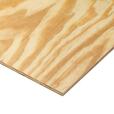 Plywood, Melamine, MDF and Particle Board Base Materials Two sheets of ¾” melamine, MDF or particle board will provide a very functional surface that can last a long time. They are certainly one of the cheapest options available. Add a coat of paint and/or polyurethane and you have a functional, durable work surface that is inexpensive and that will last a long time for under $2 per square foot. Because it is very smooth, flat and easy to work with, MDF is an ideal base for an epoxy countertop finish. You can choose to use melamine with no extra finish. Melamine provides a fairly durable surface that is easy to clean. If you wax the melamine then glue will not stick to it. Plywood is also a good base material that comes in at $2.28 to $3.31 per square foot for a 1.5” thick bench top. 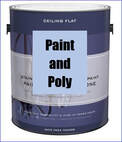 Paint and/or Polyurethane If you already have a workbench or countertop then you can sand it down, add a coat of bonding primer, some paint and a coat of polyurethane and you will have a nice looking surface for under $0.25 per square foot. Throw in some low cost vinyl graphics under the polyurethane and you will have a unique custom work surface for just a few dollars. 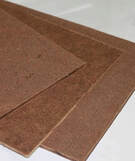 Tempered Hardboard Tempered hardboard on top of workbenches and counters is a great option for a very durable surface that is easily restored if you use it often for gluing, fastening, cutting, drilling and painting on the surface. A coat of paste wax to seal the hardboard and make glue less likely to stick to it. If you don’t like the dark color of hardboard you can paint it and put a coat of polyurethane over the paint to seal it up then some paste wax to keep glue from sticking. 3/16” hardboard comes in at a low 40 cents per square foot which makes it a very popular option. 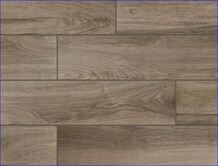 Tile and Hardwood Flooring Depending on how you use your workbench or countertop, you might also consider covering it in tile or hardwood flooring. Ceramic and composite tiles can be a durable option that provide latitude in terms of patterns and colors. Ceramic tiles certainly are not good for operations that involve a lot of impact or cutting but are very suitable for things such as potting or food service. They are also offered in woodgrain patterns that look very realistic yet offer very high durability. Tile costs range from about $1 per square foot to over $5. Hardwood flooring is another option that offers a very durable and unique looking surface for just about any operations. It is very quick and easy to install. Hardwood flooring ranges from $1 per square foot to over $6. If you search around you may even be able to get enough offcuts to cover your workbench for almost no cost. Check with your local flooring distributors to see what they have available.  Epoxy Coating As you can see, epoxy coating your countertop or work surface can yield amazing results. I chose to use epoxy because of the high end look it provides for a relatively low $5 per square foot price tag. It also doesn’t require any special skills or artistic talent to obtain an amazing look. I also wanted to embed my company graphics into the workbench and epoxy coatings make this very easy to do with a very professional looking final result. While epoxy coating is on the higher end of your options in terms of cost, it is also without a doubt yields some of the most spectacular results. As mentioned earlier, epoxy resin is great for many applications but it is not ideal for every application. Below is a list of strengths and weaknesses of epoxy coatings: Why I used epoxy resin for 2 of my workbenches: • I do a lot of assembly and electrical work on this bench. I have 3 other benches that get most of the cutting, sawing, pounding and gluing so I’m not worried about destroying this one. • It looks amazing. You can obtain a gloss or matte finish that looks stunning. It also allows me to add branding graphics under the final flood clear coat which look very professional. • Versatile. You can create many different looks. Your imagination is the limit. You can coat just about any surface with epoxy. A wide range of colors, tints and metallic additives are available. • Self-leveling. It will create a very smooth and flat surface on any level surface even if the surface contains cracks or imperfections. • Easy to use. Anyone can use it to get amazing results. • SCC’s epoxy resins have no VOC’s so you don’t have a strong smell while applying it. • SCC’s epoxy resins have UV inhibitors included to make them suitable for use outside in indirect sunlight. • Epoxy resins are very resistant to chemicals and solvents • Heat resistant. SCC’s countertop resins are heat resistant up to several hundred degrees. They will soften with extended exposure to high temperatures but they will not scorch easily. • Epoxy resins are easily repaired. Just sand and polish scratches out or lightly sand and apply another flood coat to make the surface looks as good as new. Situations where you might not want to use epoxy resins: • Due to the cost and time required to rework an epoxy countertop it may not make sense to use epoxy in areas that see a high level of abuse such as drilling, cutting or very high temperatures such as grinding, milling or welding areas. In those areas a cheaper material like tempered hardboard that is easily replaced or a very durable material like steel may be more appropriate. Workbench Ideas Flip Top Workbenches Flip top workbenches allow you to pack more tools in less space. Mobile flip top workbenches are the ultimate in space and workflow efficiency. I frequently use two other workbenches besides the one I showed you earlier. I got very tired of dragging my mitersaw out of storage every time I needed to make a simple miter cut or two. So, I designed the Shop Hacks Ultimate Flip Top Workbench. This is a mobile flip top workbench which allows 3-second access to my mitersaw when I need it but allows me to use it as a workbench the other 99% of the time. It includes a concealed electro-hydraulic lifting mobile base. I use it as an assembly and sanding table 99% of the time. It has 8 built-in power outlets powered by a single cord so I always have a power outlet close at hand. It also has a very innovative integrated dust collection which powers a blast gated port on one side for a tool such as a miter saw, planer or a sander. The other side has an integrated 5" x 24" high air velocity downdraft table that is very effective at capturing sanding dust. It also makes clean-up a breeze. Just one swipe of your hand and all of the dust on the table is sucked into the downdraft port. A single vacuum connection on the side of the cabinet supplies both sides of the flip table. I.E. the tool on one side and the downdraft table on the other. I installed the Chop Stop (coming soon) miter-stop fenceless system. With the Chop Stop I never have to measure or mark my stock. Just set it and forget it. The T-track for this system can also be used to clamp stock in place while using the workbench side of the table. Multi-function Workbenches For heavy duty pounding and work holding I use this melamine top workbench attached to my cabinet saw shown in the photos below. Please excuse the obscene use of color on this system. It not the looks that count... it's what's on the inside, right? :-) This workbench has the following features...
I hope this article gave you some ideas to Build YOUR Space. If you have some ideas to share feel free to post them in the comments below. You can also reach me at [email protected] if you have any questions or if you just want to suggest topics for future articles. Be sure to join us at the Shop Hacks Facebook group where you will find great workshop improvement ideas posted every day. Check out popular Shop Hacks Newsletters... Promotional... Build YOUR Space... and begin transforming your workshop into a destination starting with one of these Shop Hacks products...
1 Comment
|
Categories
All
NewsletterShop Hacks exists to help you Build Your Space! Archives |

- Home
-
Improve your Workspace
-
Dust Collection and Air Filtration
>
- Table Saw Dust Collection
- All About Cyclone Separators
- Dust Deputy and Dustopper Review and Comprehensive Scientific Testing
- Dust Sheriff Cyclone Separator
- Dust Collection System Options
- Air Filtration System Options
- Why clean air matters
- Is your shop air safe???
- How to maintain healthy air in your shop
- Dust Collection Resources and Links
- Why I became obsessed with dust collection and air filtration
- Storage, Organization, Efficiency >
- Improve your workshop floors and lighting >
-
Dust Collection and Air Filtration
>
-
Improve Your Tools
- Shop
- Contact


 RSS Feed
Get weekly blog articles and early bird discounts for new products
through the Shop Hacks Newsletter. Every Friday at 3:30 Eastern Time.
SUBSCRIBE to the weekly Shop Hacks Newsletter
through the Shop Hacks Newsletter. Every Friday at 3:30 Eastern Time.
SUBSCRIBE to the weekly Shop Hacks Newsletter
Site Map
© Copyright, Shop Hacks 2019