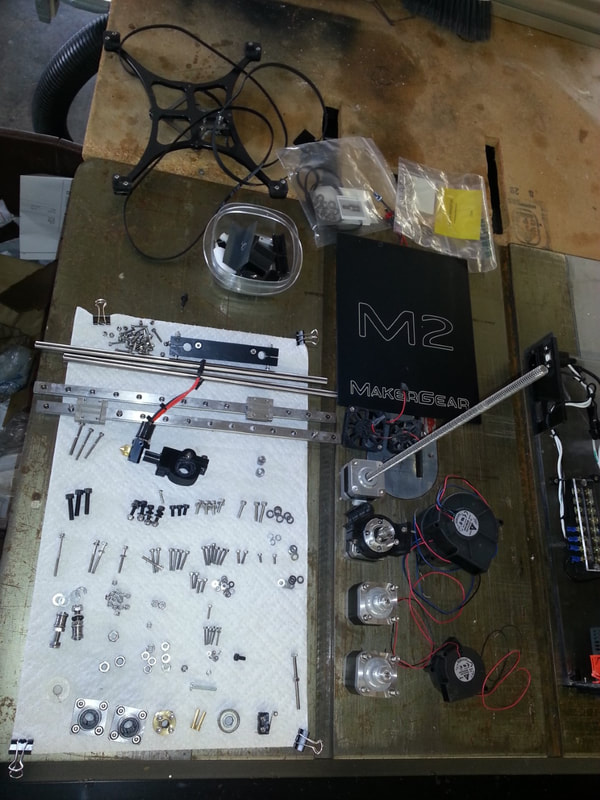
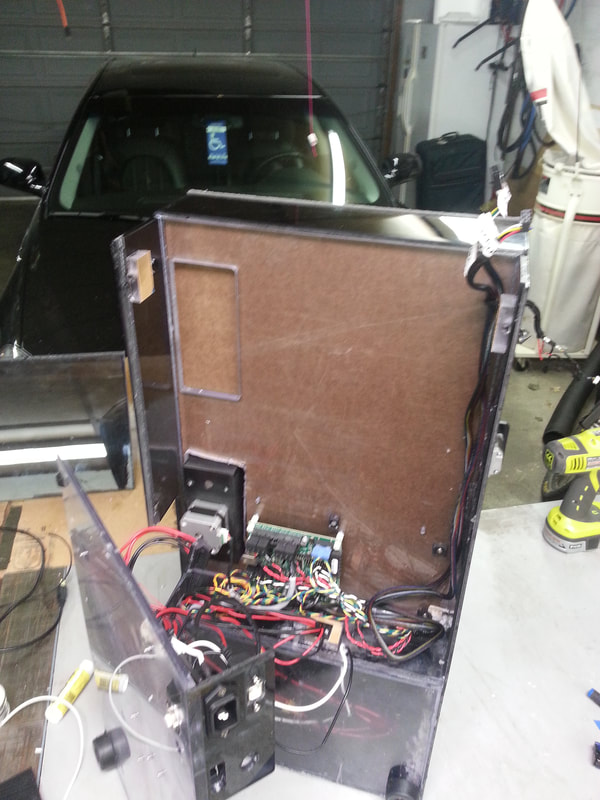
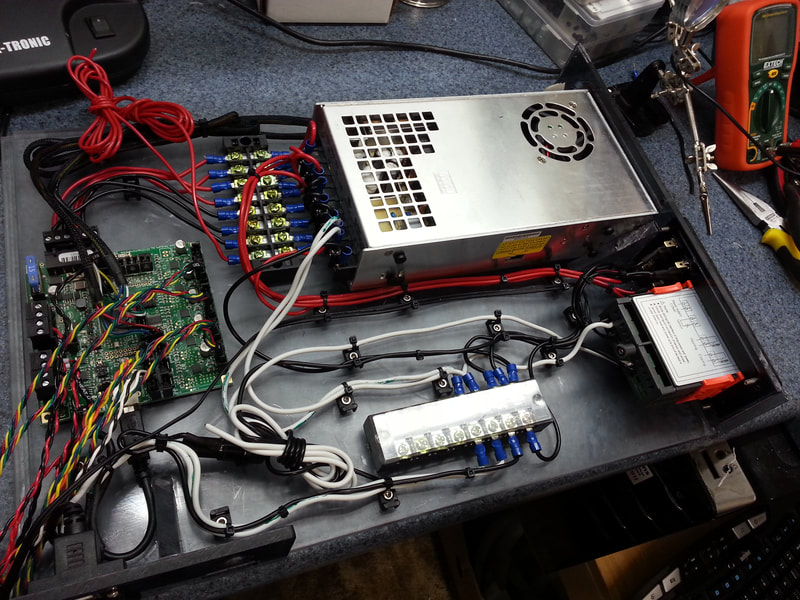
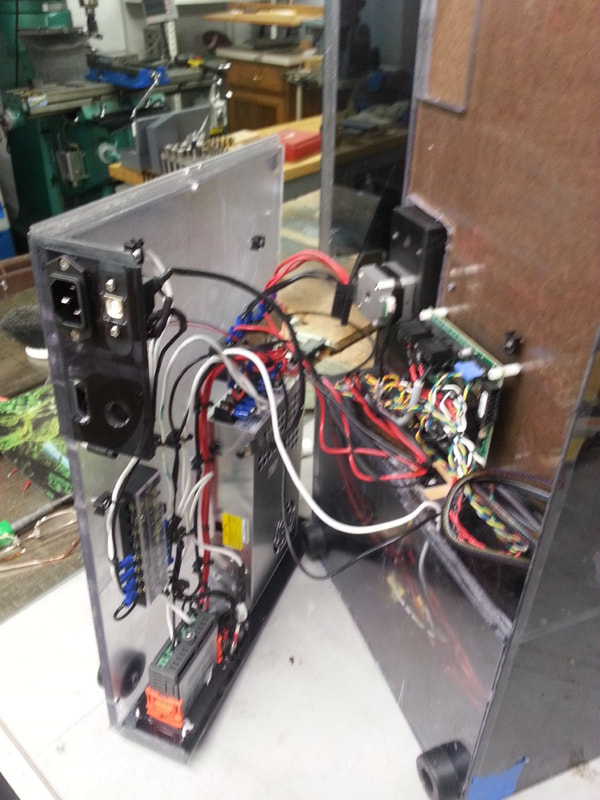
Modified Makergear M2 with Heated Build Volume
My third 3D printer was a Makergear M2 and I loved it. It was the first 3D printer that ever worked well for me.
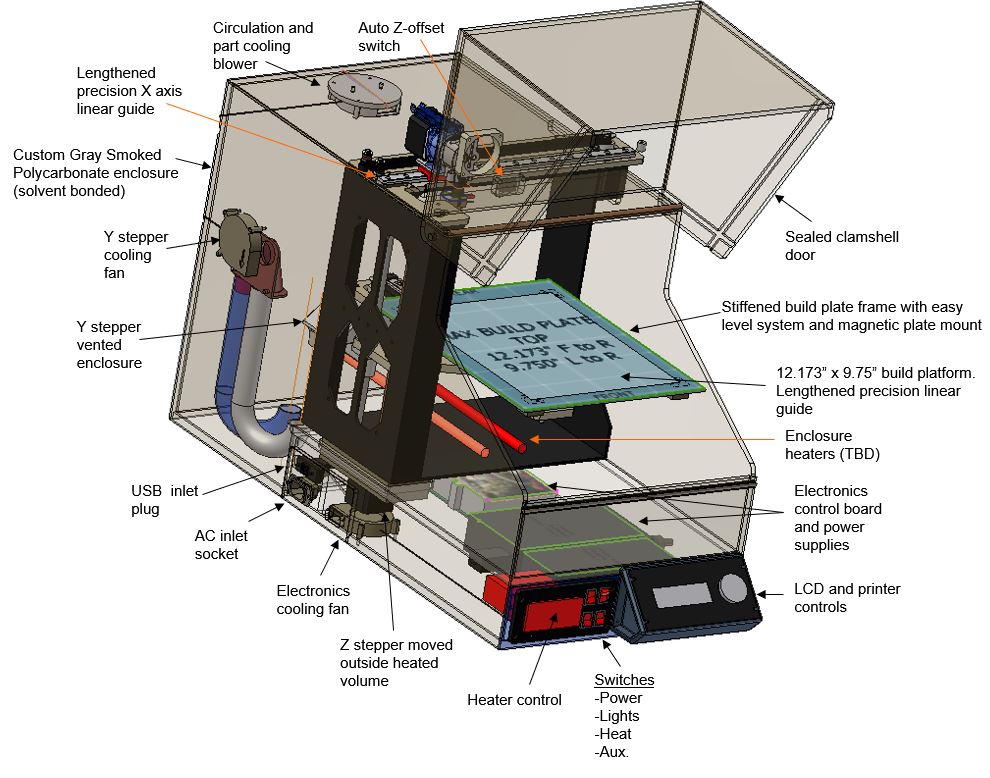
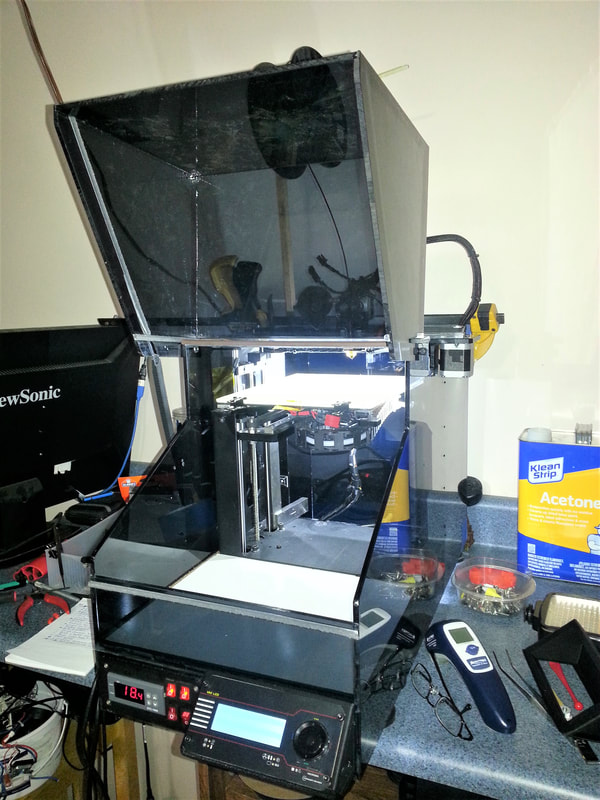
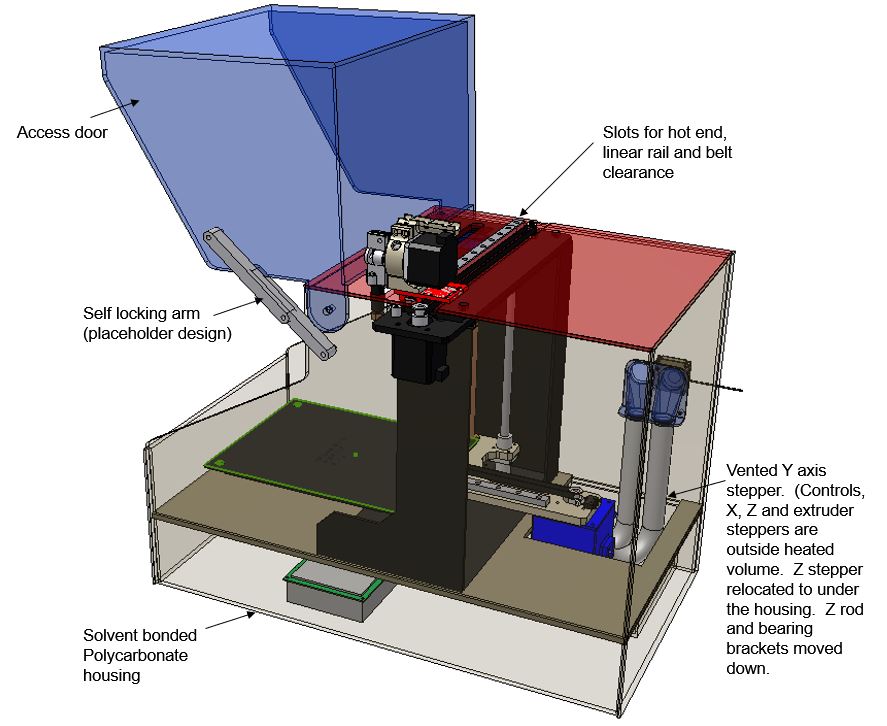
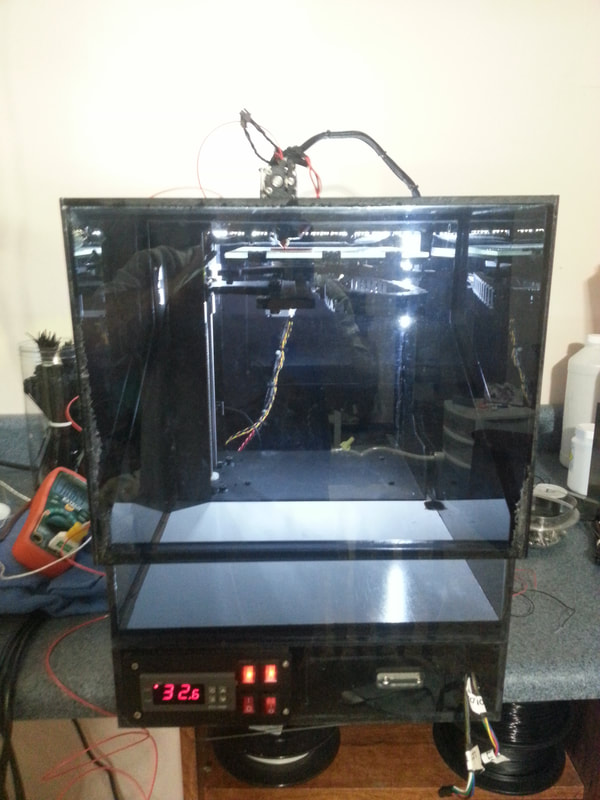
As with everything, I decided to make it better. I redesigned it to increase the build volume and a temperature controlled build volume so large ABS prints would not warp.
I spent around 200 hours designing and rebuilding this printer. I got it to the point of test printing a part at 90C. It worked well except the Y axis kept missing steps for some reason. By that point I was burned out and I stored it.
If you are interested in CAD files for this build, let me know.
I'll be happy to sell it to someone who is interested in taking it the last mile.
Drawings for the enclosure and modified parts are available in the document linked below
| m2_electroncs_enclosure_drawings.ppt |

