
Workshop Flooring Options
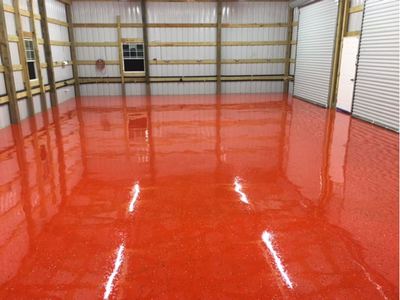
Epoxy Coating your Workshop Floor - how to completely transform the look and feel of your workshop

I used the following process to transform my workshop floor using epoxy and polycuramine coatings:
NOTE: Epoxy is a great floor coating product. However, it should not be used in areas where hot metals are produced such as near milling machines or welding stations. Epoxy softens and degrades above 350 degrees F. Sealers and stains are better choices for those areas.
8 Steps to installing an epoxy floor coating
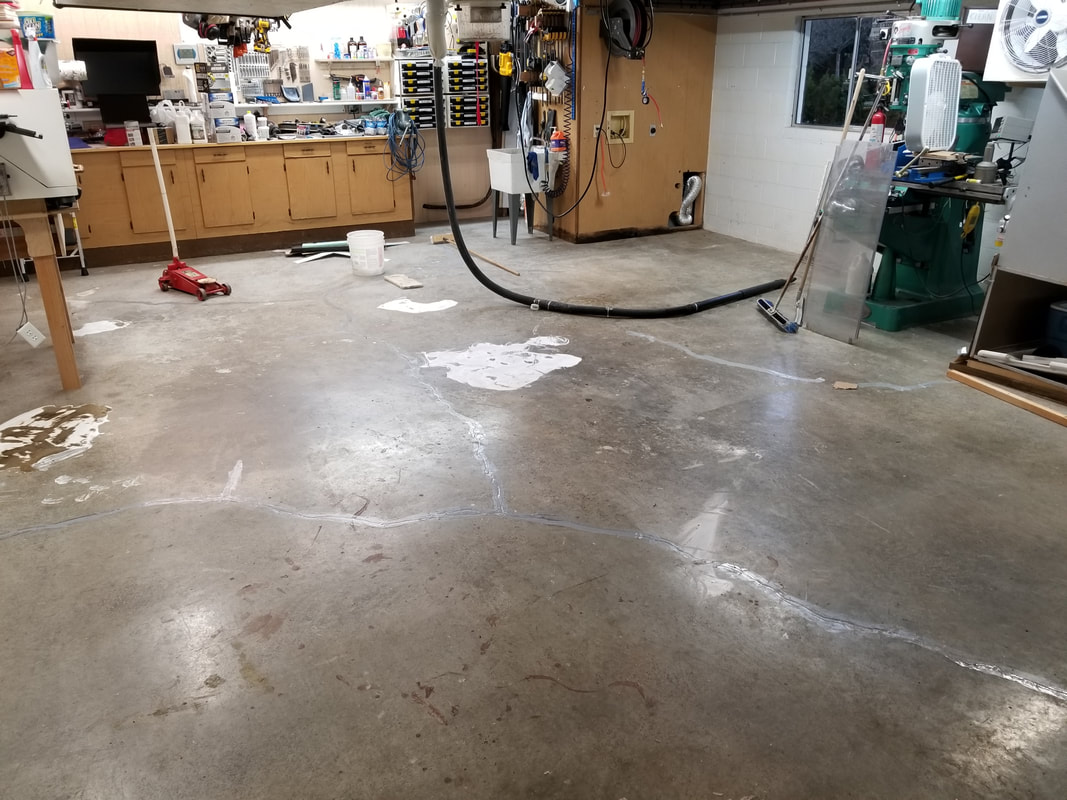
1. Move everything out of the way
I chose to move EVERYTHING out. I covered tools for a few days rather than trying to move everything to one half and coat the other half and then repeat. It was a lot of work to move everything out but it would have been twice the work and would have taken twice as long if I would have coated half of the floor at a time. Furniture dollies are a life saver for this step. Plan for the entire process to take a minimum of 3 days. Plan out your timing based on the manufacturer's product information.
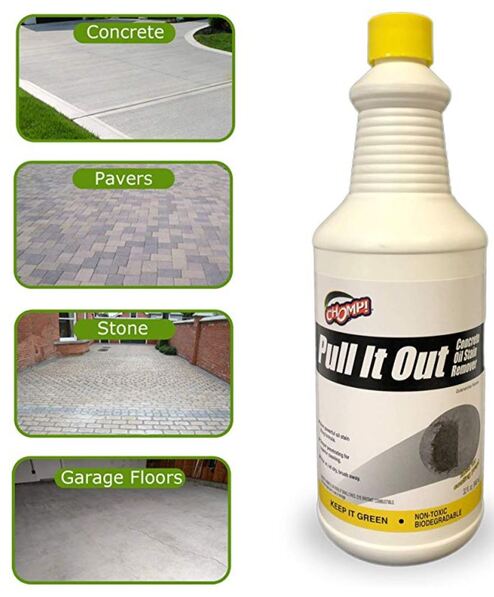
2. Clean any areas that have oil stains using a concrete oil and stain remover
It is imperative that you remove any oil from the concrete to prevent lifting of the coating in those areas later on.
NOTE: Epoxy is a great floor coating product. However, it should not be used in areas where hot metals are produced such as near milling machines or welding stations. Epoxy softens and degrades above 350 degrees F. Sealers and stains are better choices for those areas.
8 Steps to installing an epoxy floor coating
1. Move everything out of the way
I chose to move EVERYTHING out. I covered tools for a few days rather than trying to move everything to one half and coat the other half and then repeat. It was a lot of work to move everything out but it would have been twice the work and would have taken twice as long if I would have coated half of the floor at a time. Furniture dollies are a life saver for this step. Plan for the entire process to take a minimum of 3 days. Plan out your timing based on the manufacturer's product information.
2. Clean any areas that have oil stains using a concrete oil and stain remover
It is imperative that you remove any oil from the concrete to prevent lifting of the coating in those areas later on.
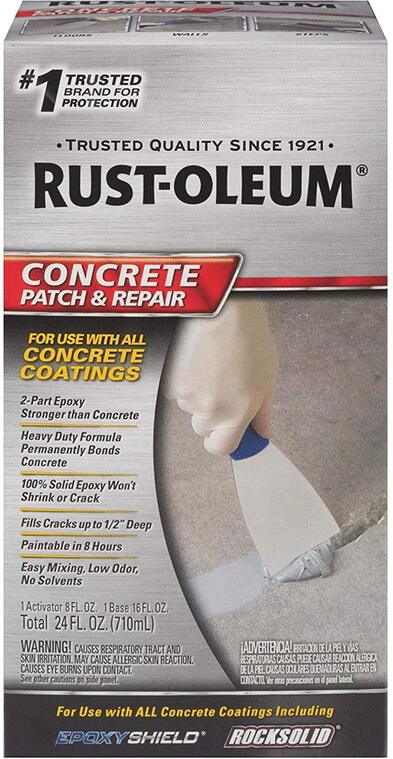
3. Fill cracks using epoxy crack filler.
I used a Rustoleum product and it has held up without showing any cracks for a couple of years now. I used a grinder to knock off the rough edges of the large cracks in my floor then filled them with this filler. Be careful to smooth the filler as much as you can or you will have to spend a lot of time later sanding it down flat. Don't ask how I know ;-)
I used a Rustoleum product and it has held up without showing any cracks for a couple of years now. I used a grinder to knock off the rough edges of the large cracks in my floor then filled them with this filler. Be careful to smooth the filler as much as you can or you will have to spend a lot of time later sanding it down flat. Don't ask how I know ;-)
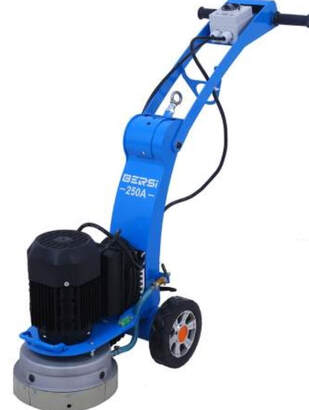
4. Mechanically grind the concrete. Don't just acid etch it. DO NOT SKIP THIS STEP!
It is imperative that you grind your floor prior to coating it to ensure the epoxy will not lift later on. I skipped this step on the first floor that I coated and it looked awesome for about 6 months but as soon as summer came and the hot car tires rested on the coating it started to peel up. It looked terrible after that and I learned my lesson.
I rented a floor buffer and concrete grinding disc from Home Depot for 4 hours. I was able to grind my entire 24' x 32' floor 2x in about 3 hours. I started off grinding it dry but the dust was terrible so I kept the floor wet after that which worked very well.
|
|
5. Mask the walls and any vertical surfaces that you don't want to coat
I masked all of the walls, the cabinet faces and the legs to the sink with painter's tape before I applied the epoxy. For me, this was faster than trying to cut in all of the edges with a brush. You have a limited amount of time to apply the epoxy after you mix it so it's best to mask so you the epoxy doesn't get to thick to apply before you have it down.
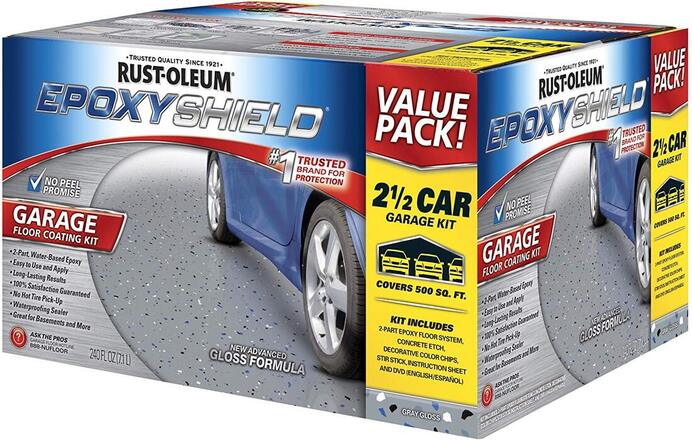
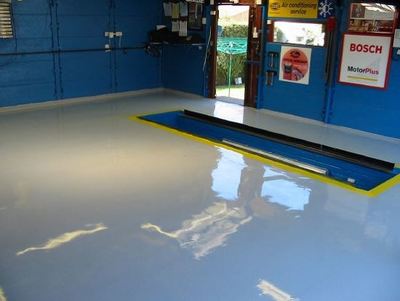
6. Apply a two-part epoxy coating to your floor in 4'x4' sections followed by applying color chips
I used Rustoleum EpoxyShield two part epoxy . Consider the manufacturer's coverage recommendations as maximums. I recommend getting more than you need so you don't get stuck with a partially finished floor if it doesn't cover as well as you expect.
I masked all of the walls, the cabinet faces and the legs to the sink with painter's tape before I applied the epoxy. For me, this was faster than trying to cut in all of the edges with a brush. You have a limited amount of time to apply the epoxy after you mix it so it's best to mask so you the epoxy doesn't get to thick to apply before you have it down.
6. Apply a two-part epoxy coating to your floor in 4'x4' sections followed by applying color chips
I used Rustoleum EpoxyShield two part epoxy . Consider the manufacturer's coverage recommendations as maximums. I recommend getting more than you need so you don't get stuck with a partially finished floor if it doesn't cover as well as you expect.
Will this product last???
Many people tried to tell me that this product would no hold up like the brands that professional floor installers use. However, as is often the case, internet warnings were wrong and my floor has held up perfectly even after 2 years of all day use 6 days per week. It hasn't lifted from hot car tires or chipped. The only time it has ever chipped is when I've dropped something so heavy that it chipped the concrete under the paint.
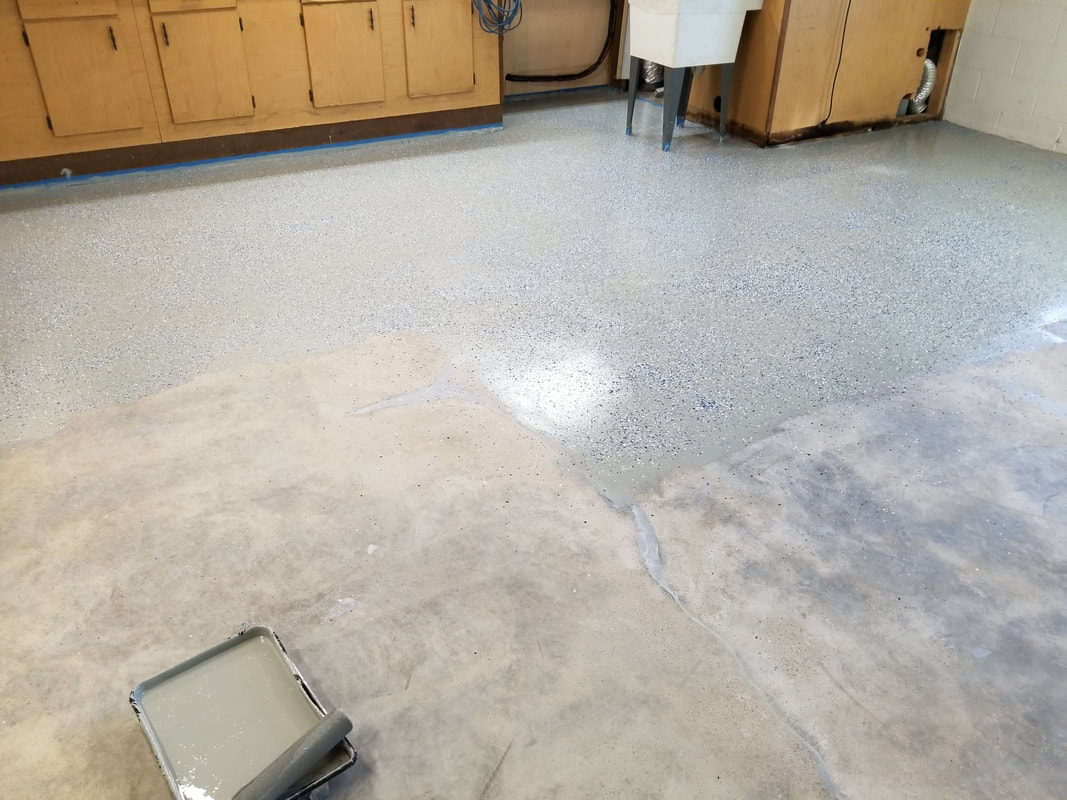
I applied the epoxy in 4'x4' sections using a roller with a broom handle extension and an foam roller cover. I used the Rustoleum foam roller cover and they didn't last long. I went through 5 of them while applying the epoxy and clear coat to my floor. I recommend using a higher grade epoxy rated roller cover. I haven't used this particular roller cover but it gets good reviews.
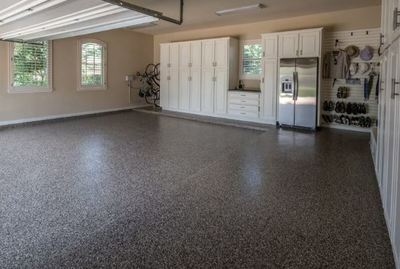
After you roll out each 4'x4' section, apply color chips by simply throwing small handfulls into the air and letting them fan out evenly on the wet epoxy. Don't worry about rolling over top of some of the chips as you roll out the next section. they won't show up unless you apply the color chips very lightly. I applied the paint chips to my floor very heavy and it looks great.
Many people tried to tell me that this product would no hold up like the brands that professional floor installers use. However, as is often the case, internet warnings were wrong and my floor has held up perfectly even after 2 years of all day use 6 days per week. It hasn't lifted from hot car tires or chipped. The only time it has ever chipped is when I've dropped something so heavy that it chipped the concrete under the paint.
I applied the epoxy in 4'x4' sections using a roller with a broom handle extension and an foam roller cover. I used the Rustoleum foam roller cover and they didn't last long. I went through 5 of them while applying the epoxy and clear coat to my floor. I recommend using a higher grade epoxy rated roller cover. I haven't used this particular roller cover but it gets good reviews.
After you roll out each 4'x4' section, apply color chips by simply throwing small handfulls into the air and letting them fan out evenly on the wet epoxy. Don't worry about rolling over top of some of the chips as you roll out the next section. they won't show up unless you apply the color chips very lightly. I applied the paint chips to my floor very heavy and it looks great.
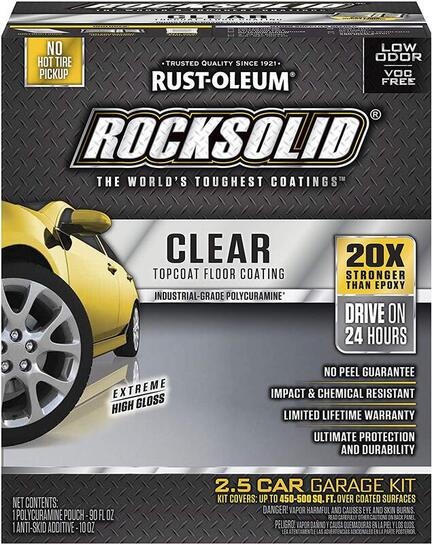
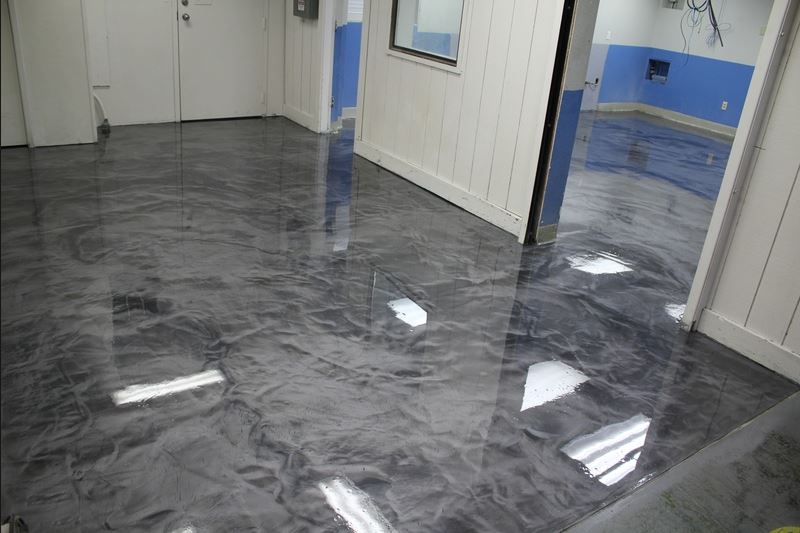
7. Apply a polycuramine clear coat and anti-skid grit as needed
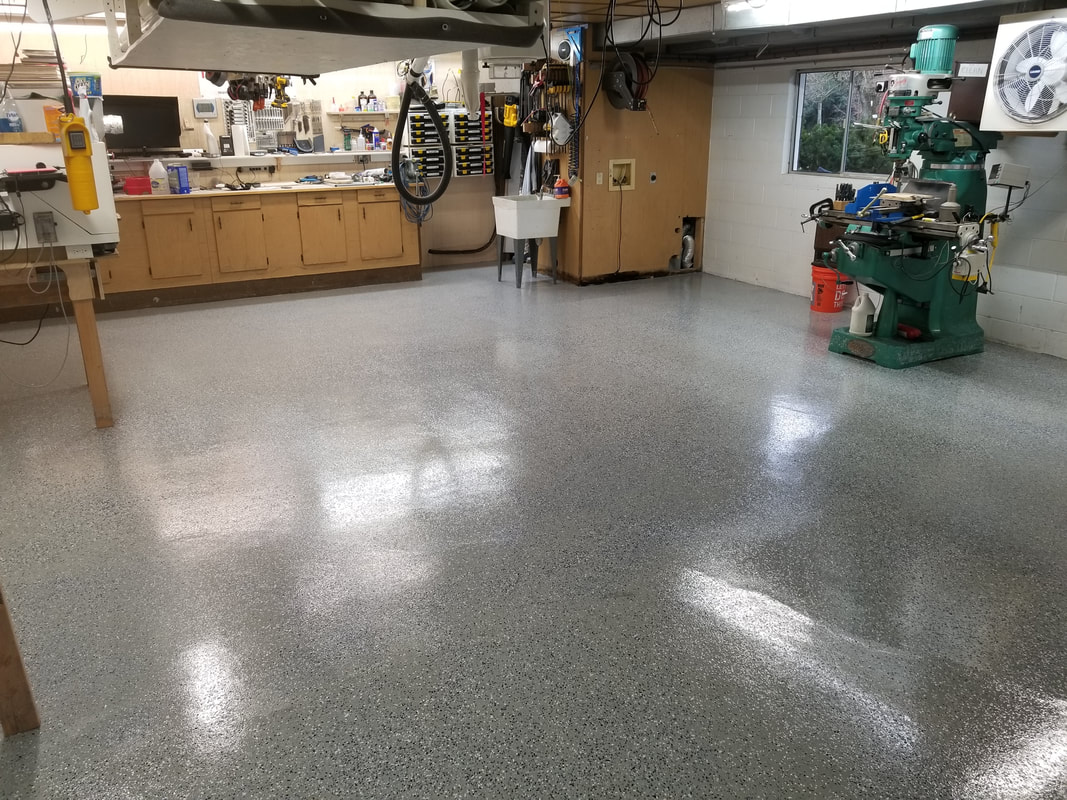
I can't stress enough how much better my floor looked after I applied the Rustoleum RockSolid Polycuramine clear coat. There are several reasons why I believe the extra cost of the polycuramine clear coat over the epoxy is justified.
1. Polycuramine is 4x more durable than epoxy so your floor will hold up better to wear and tear
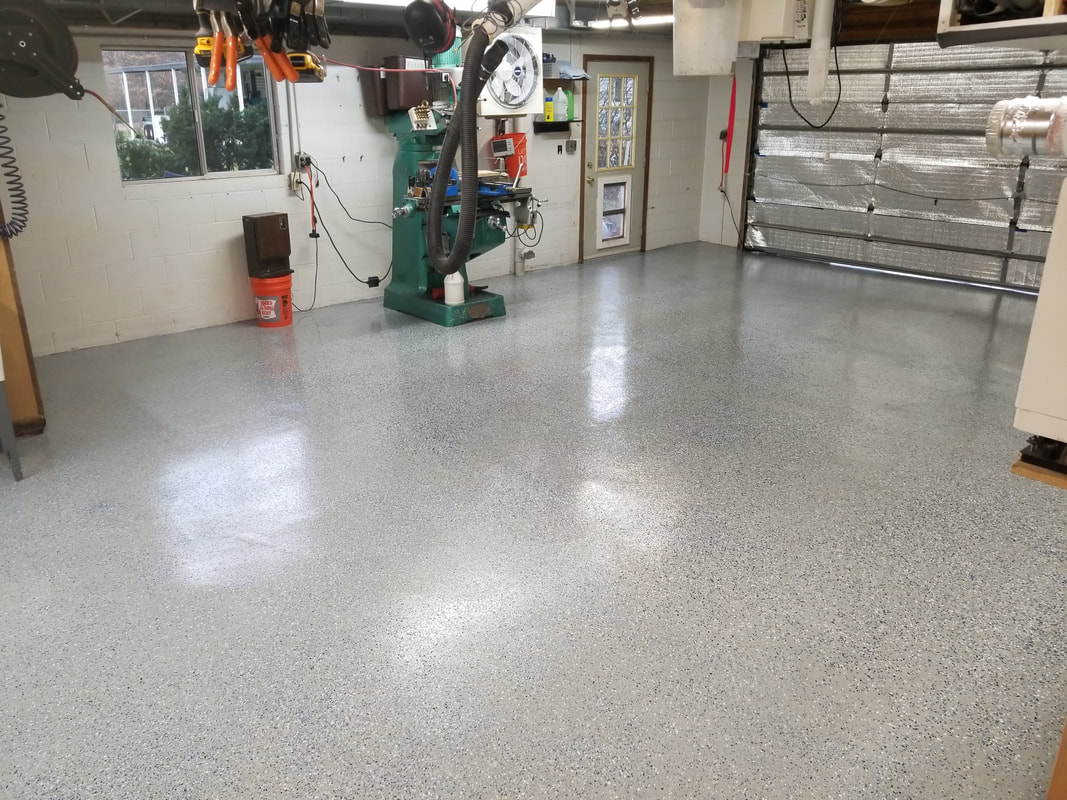
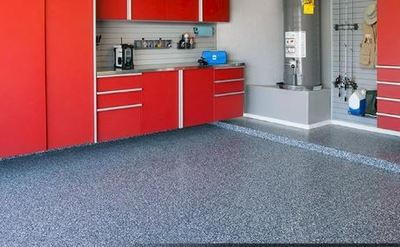
2. The clear coat makes an ordinary floor look extraordinary. You can see from the pictures above how great it looks.
3. The floor won't hold dirt and will be much easier to clean and keep looking new with a clear coat.
If I remember correctly, the clear coat covered better than the manufacturer's recommendations suggested and I was able to return one of the kits for a refund.
I can't stress enough how much better my floor looked after I applied the Rustoleum RockSolid Polycuramine clear coat. There are several reasons why I believe the extra cost of the polycuramine clear coat over the epoxy is justified.
1. Polycuramine is 4x more durable than epoxy so your floor will hold up better to wear and tear
2. The clear coat makes an ordinary floor look extraordinary. You can see from the pictures above how great it looks.
3. The floor won't hold dirt and will be much easier to clean and keep looking new with a clear coat.
If I remember correctly, the clear coat covered better than the manufacturer's recommendations suggested and I was able to return one of the kits for a refund.
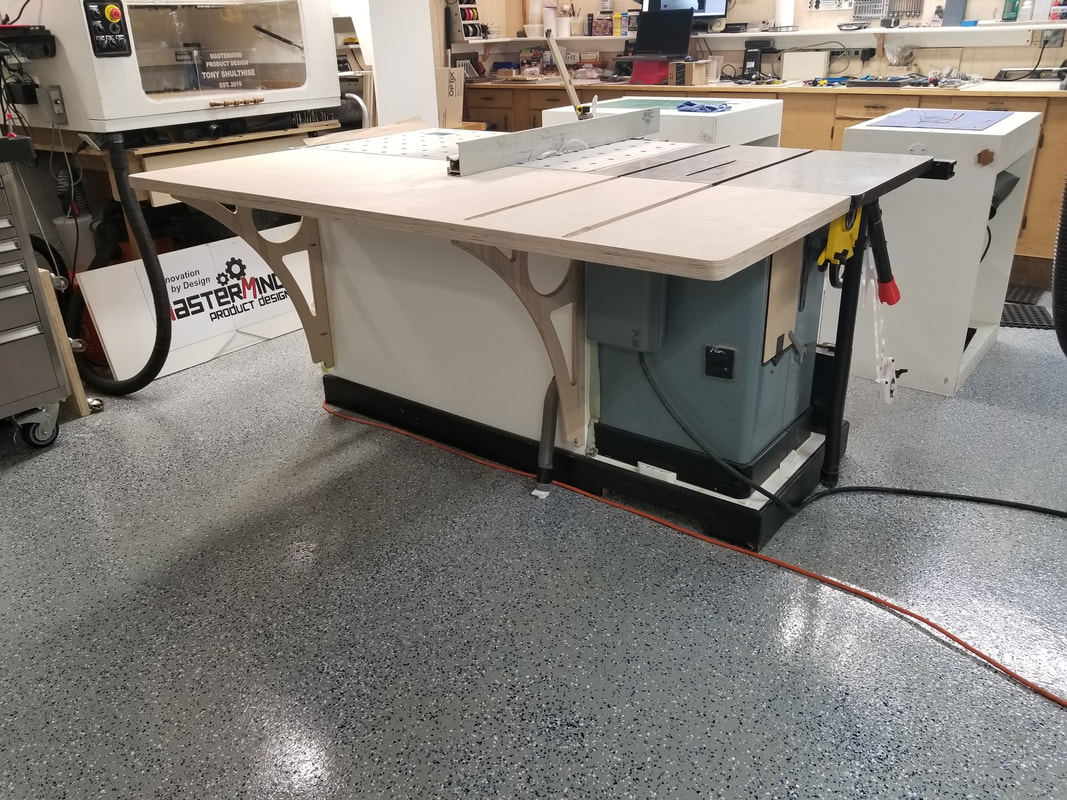
After 2 years of daily use, some of the high traffic areas are no longer shiny but they still look great. Overall, my floor still looks like the pictures above which were taken as soon as I finished.
WARNING: If you will have a lot of sawdust or water on your floor then add an anti skid grit to the clear coat in areas where you need extra traction. I didn't need the grit since I have effective dust collection in my shop. Click on the link if you would like to learn how you can modify your tools so that you can have a nearly dust-free workshop.
8. Move everything back into your shop
After allowing the clear coat to cure for the time recommended by the manufacturer, you can move everything back into your shop.
As you can see from the photos earlier, my shop went from looking dull and "garage-like" to a professional looking space. The floor coating totally transformed the look and feel of my space and I still admire the look and feel of this floor every time I walk into my shop!
The cheapest way to totally transform the look and feel of your workshop.
If you would like to know how to totally transform the look at feel of your shop for less $$$ by adding LED lighting, then check out the Workshop LED Lighting Shootout Article. I tested several different types of LED lighting products to see which ones will work best in your shop. I show you everything you need to know to make totally transform the feel of your shop for around $200 or less in most cases. I also show why you can't afford to NOT switch over to LED lights since they pay for themselves in as little as a few years. That's like getting a workshop transformation for free!
Disclosure: As an Amazon Associate I earn from qualifying purchases. The purpose of Shop Hacks is to help you Build YOUR Space.. Thank you for your support!
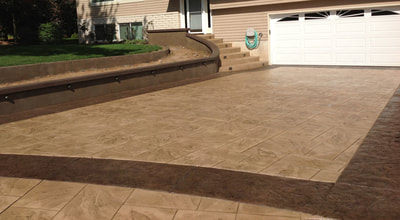
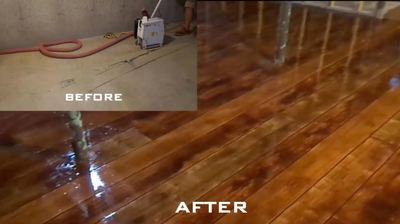
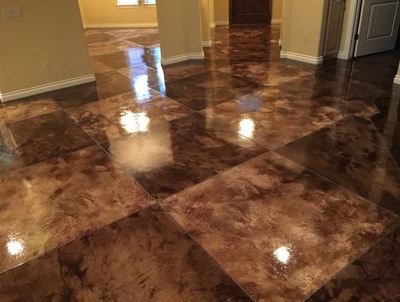
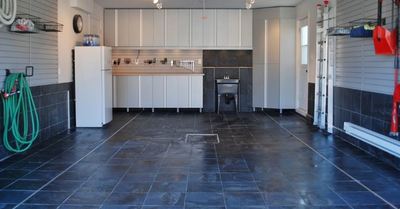
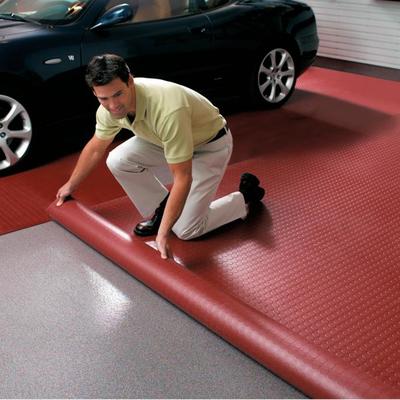
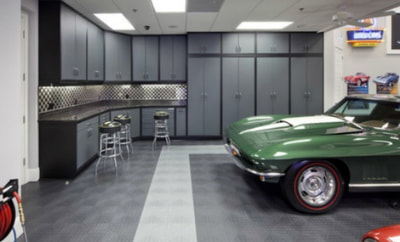
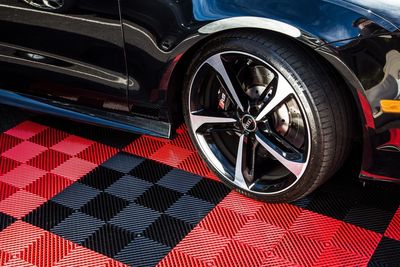
More workshop flooring options and resources to inspire you
NOTE: This is a major rabbit hole but I include all of these photos and the associated websites in case you want to explore other options.
Click on each picture to be taken to the source websites
Click on each picture to be taken to the source websites
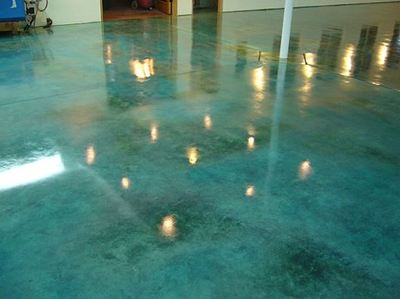
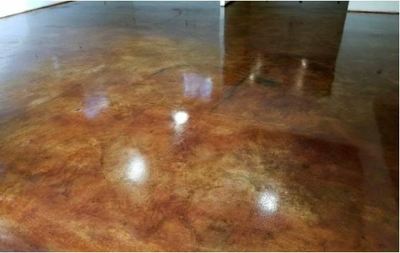
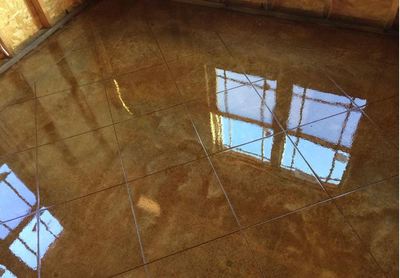
Stains, Epoxy, Polyurethane, Polycuramine and Polyaspartic Floor Coatings
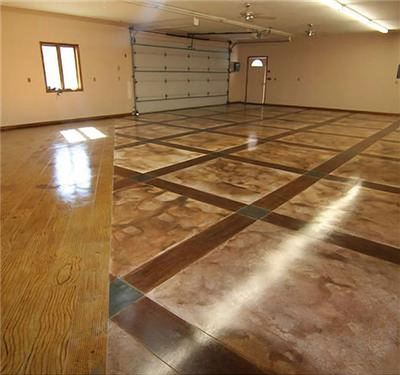
Stain, Dye and Sealer Coatings
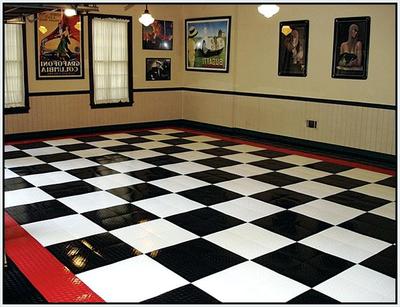
Vinyl and Tile Coverings

Resources
http://learncoatings.com/ - An awesome resource site with practical information needed to put down a long lasting floor coating
Video - Epoxy vs Polyurethane Flooring: Understand the differences
Video - Epoxy vs Polyurethane Flooring: Understand the differences